

The Comic Creation Process: Turn Every Step Into An Evolutionary Leap Forward!
If you’ve wondered what steps it takes to make a comic, or why each matters, this article is for you. Shortcuts are generally the long way around. Don't spend your time trying to hack the process.

Creating a comic is a long and complex process. Ain’t no denying that. But every stage is an opportunity to refine, improve, and evolve your Story. If you look for shortcuts, you’re selling yourself short. Doesn’t your baby deserve the attention?
This may look like chaos. But it’s chaos with INTENT. I let the process guide me forward.

Think of each step as a chance to realize your ambitious vision. Legendary designer Syd Mead—who approached his art with the same rigor as comic creators—emphasized this mindset in his work. Whether sketching thumbnails or finalizing renderings, each phase was an opportunity, not a burden. His multi-step process, which starts with a thumbnail sketch and leads to value sketching and color preliminaries before the final rendering, allowed him to develop a deeper understanding of each artwork. It's a reminder that comic book creation can be joyful when you embrace the process, not rush through it. As Syd Mead put it, each phase presents a new way to improve your ideas and execution.
Making Comics: Bring yours to life.
Not all the steps I have outlined below are REQUIRED. For example, if you're an expert inker, you might get away with jumping from Thumbnails to "Final Pencils." But I wouldn’t! Not at first. If you’re a pro. Sure, but why are you reading this?
Get your head on straight. Shortcuts rarely succeed in artmaking. Consider each step an opportunity to improve your work, not a burden. Mindset matters. When aligned, your creative process will thrive.
If you want to check out Syd Mead's at www.thegnomonworkshop.com, his expertise is worth your time. His four-step video series focuses on painting a gouache rendering of a futuristic vehicle, but his process is a perfect metaphor for why each step in artmaking is meaningful and productive, even if it’s brutally time-consuming. A comic book or graphic novel isn’t easy, but it’s worth giving your best effort.
Below is a step-by-step breakdown of one common comic book workflow, the Full-Script workflow. Another workflow is the "Marvel Method," which starts from an outline, never writing a full script. It’s a different but still viable method. It didn't work for me- I couldn't balance making concurrent choices for both Story AND Art. I got overloaded, and my poor little head exploded. But I know both processes can work. Try for yourself. The Full-Script process works for me.
I've included a quick explanation of why each step can improve your comic. I hope that helps give context.
A Step-by-Step Breakdown
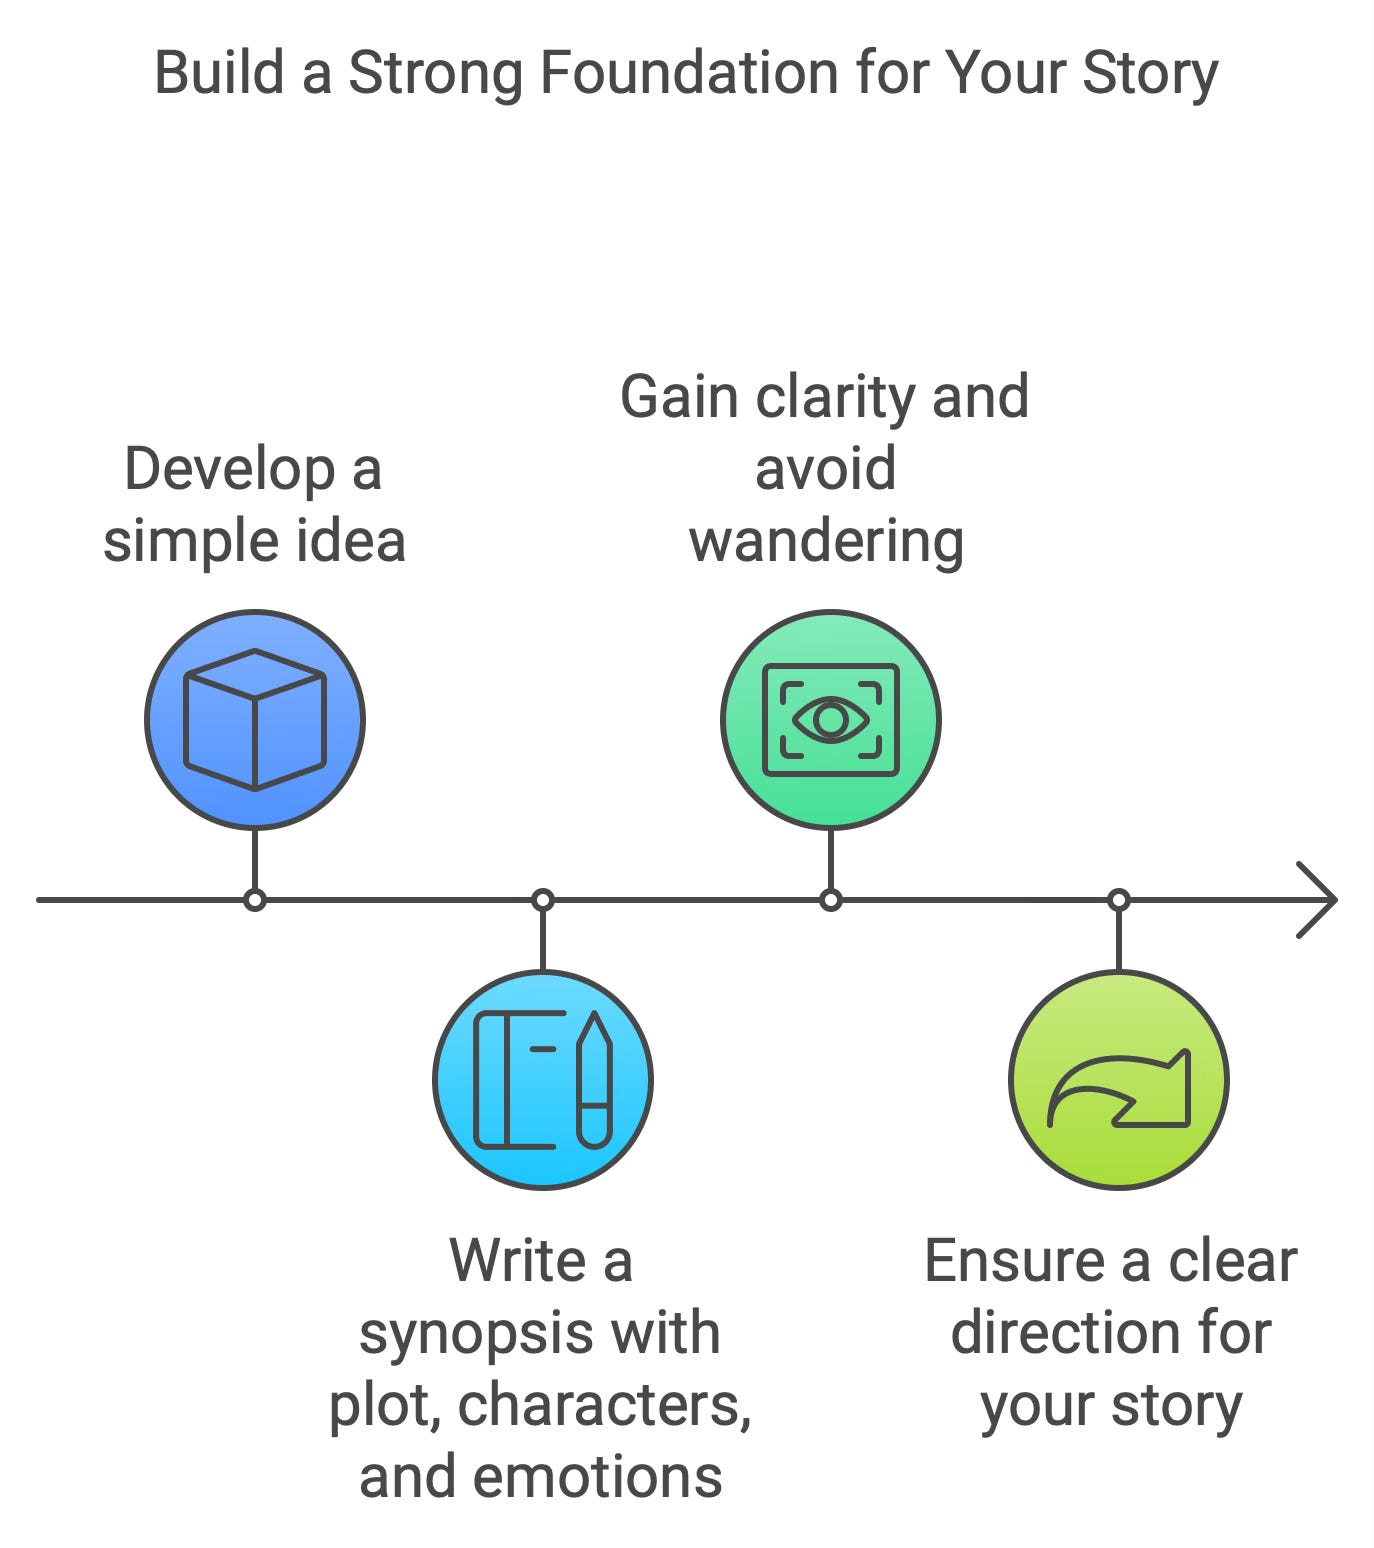
1. Story Idea and Synopsis
What it is: Start with a simple idea and write a short synopsis that includes the plot, characters, and vital emotional moments.
Why it's important: A strong foundation gives you clarity. It helps you avoid wandering off track and ensures your Story has a clear direction from the beginning.

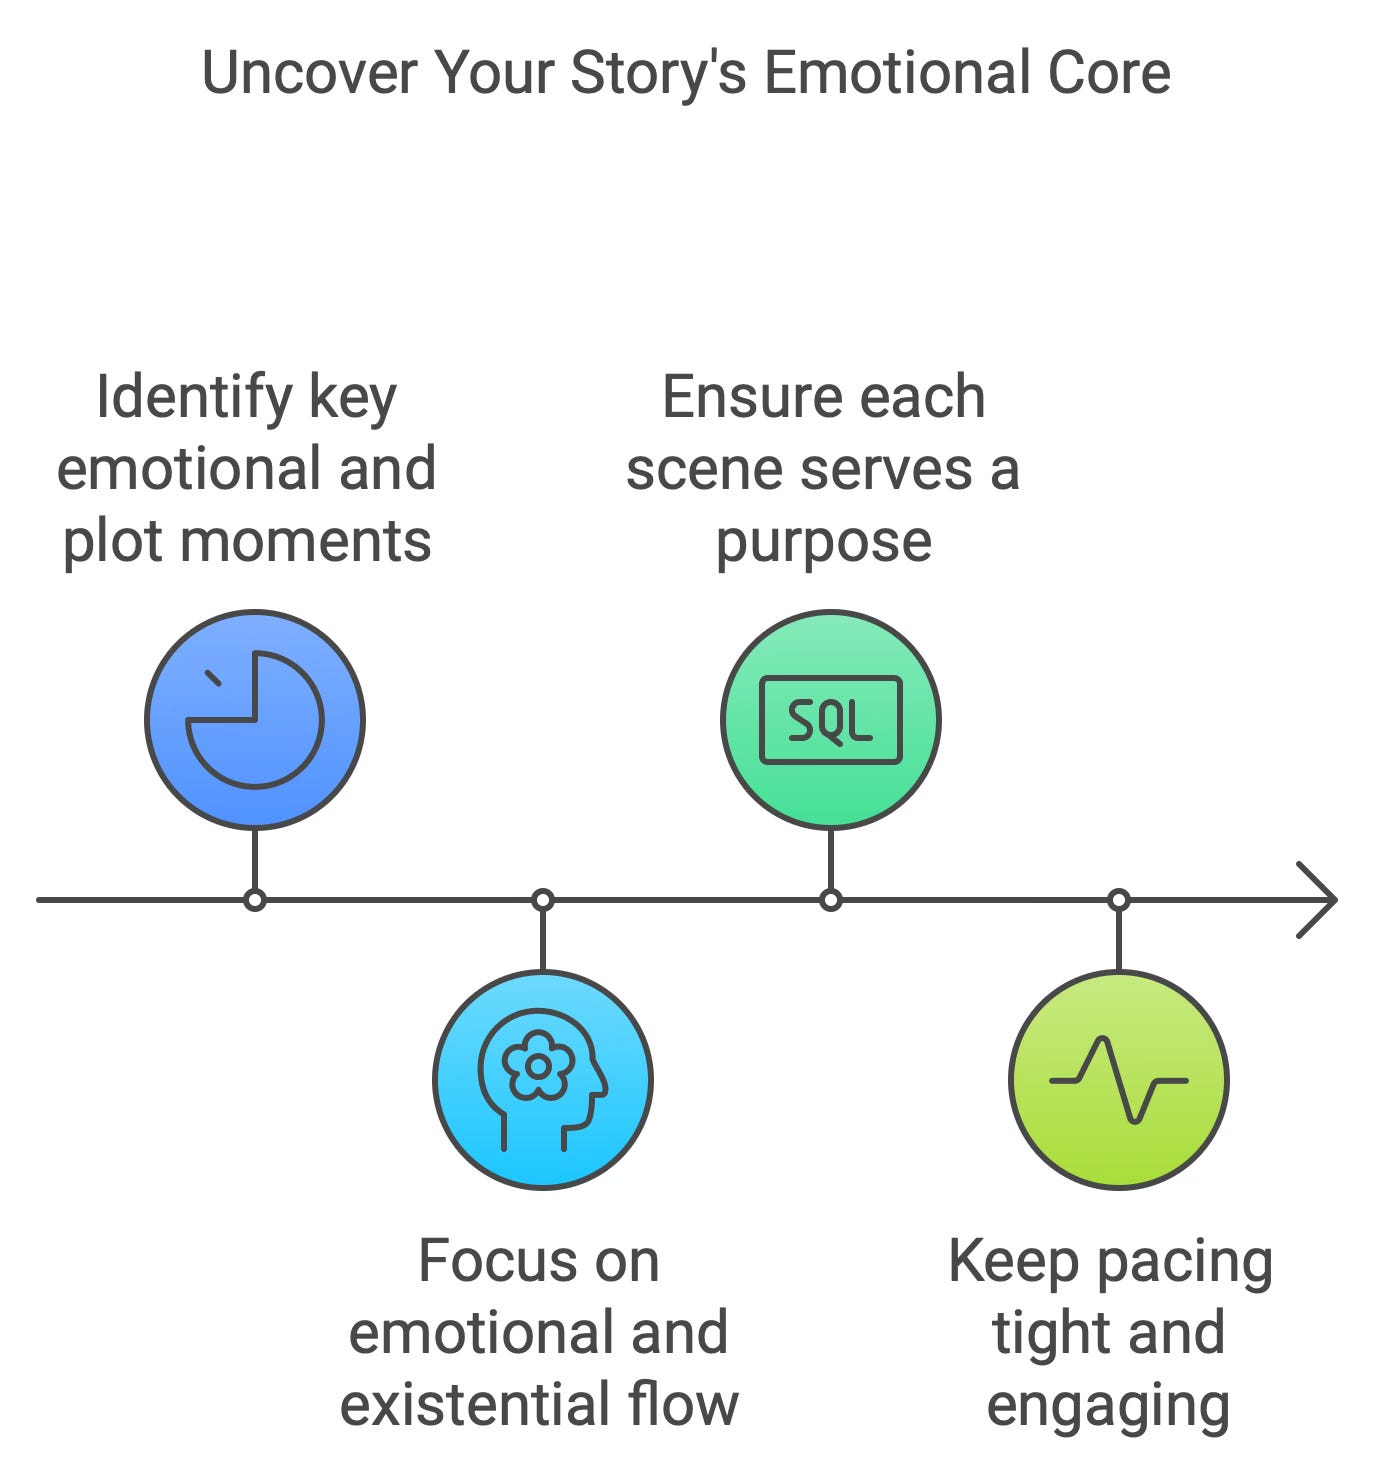
2. Beat Sheet
What it is: Identify your Story's most important emotional and plot moments—key beats guiding the narrative. Blake Snyder’s “Save The Cat” features this.
Why it's essential: This step helps you focus on the emotional and existential flow of your Story, ensuring each scene serves a purpose. It keeps the pacing tight and engaging for readers.
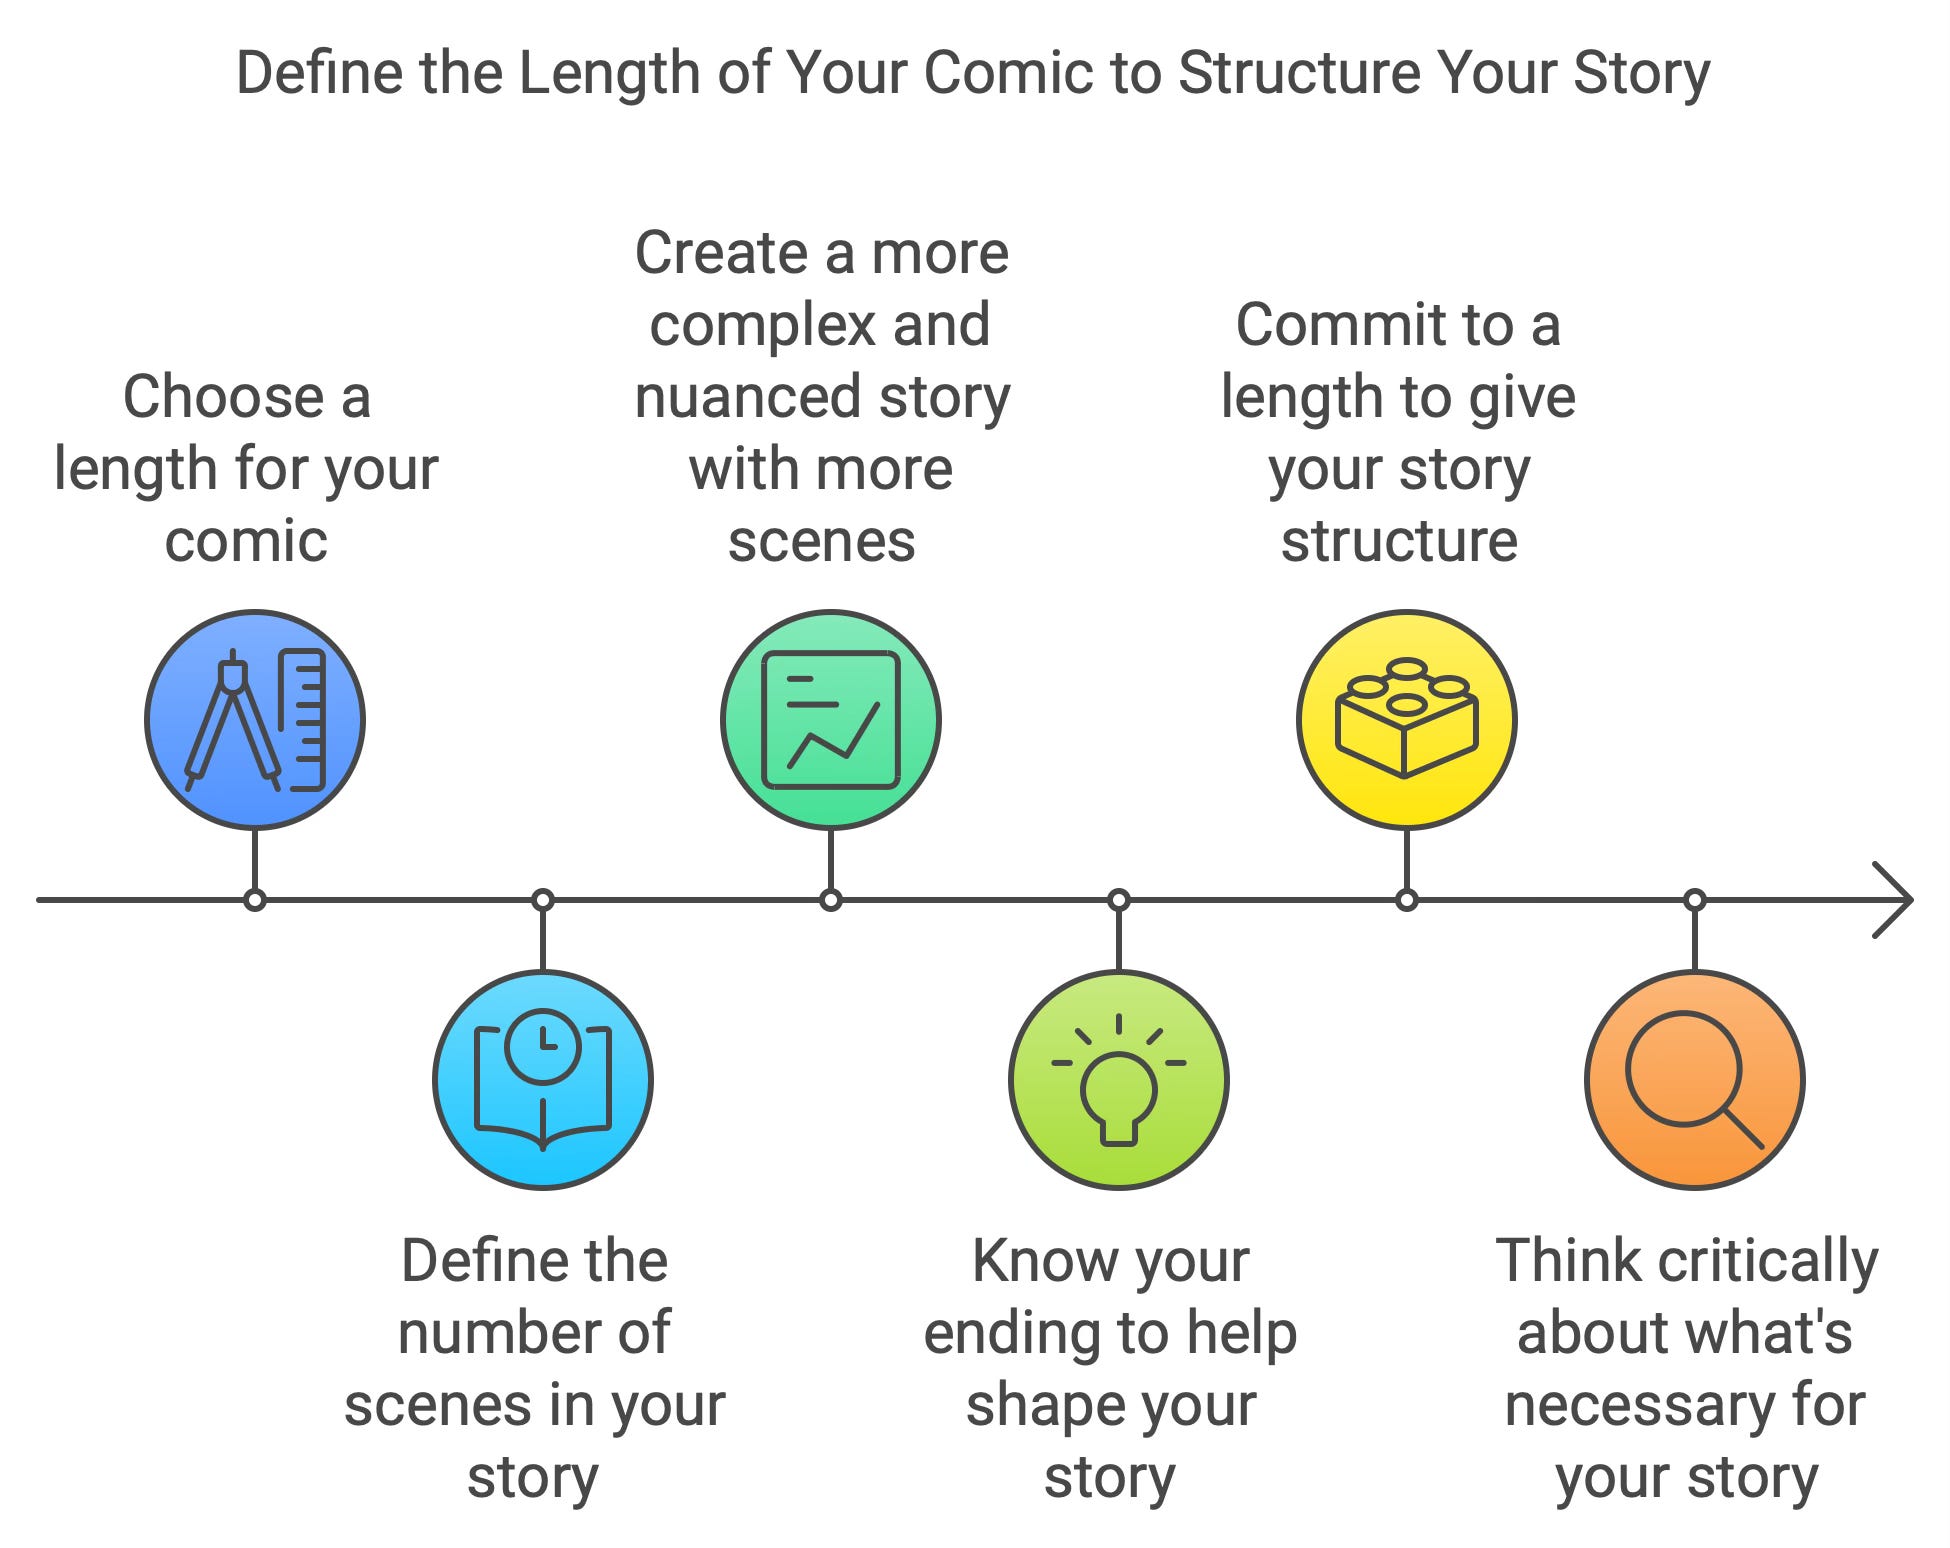
3. Decide on the Length
What it is: Choose how long your comic will be—20-24 pages for a floppy comic is standard. 120 Page Graphic Novel? It’s up to you; go shorter or longer, you’re in charge. The length will define how many Scenes your story will feature.
More length = More scenes = More complexity and nuance.(Pro Tip: It helps to know your ending.)
Why it's essential: Committing to a length gives you structure. It forces you to think critically about what's necessary and how to fit your Story into the space you have.
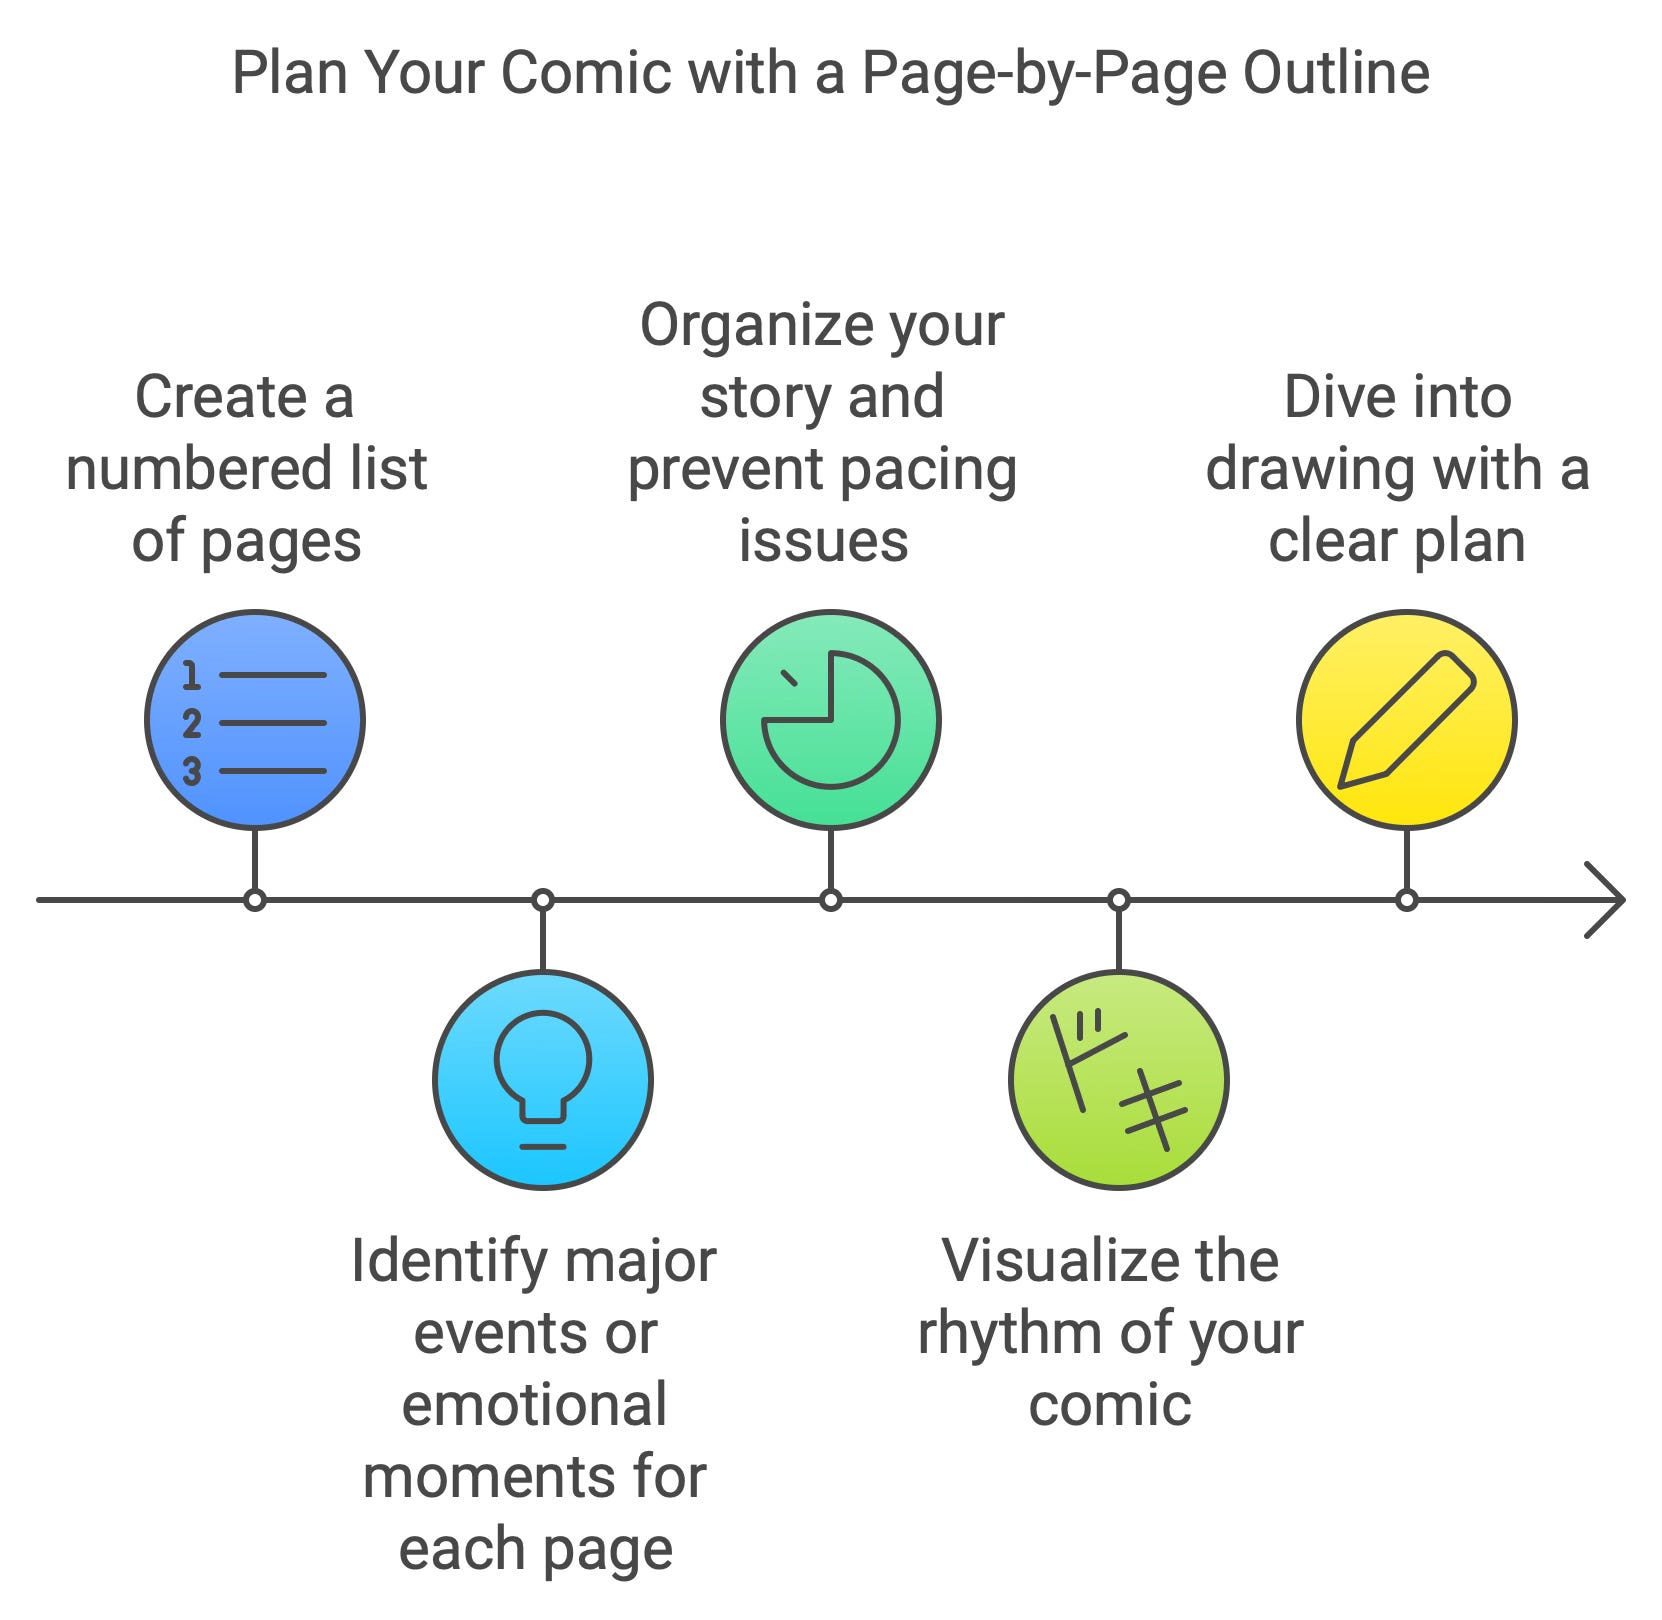
4. Page-by-Page Outline
What it is: Create a numbered list of pages (e.g., 1-24), each containing one major event or emotional moment.
Why it's important: A page-by-page plan keeps your Story organized and prevents pacing issues. It helps you visualize your comic's rhythm before diving into drawing.
5. Thumbnails
What it is: Draw small, rough sketches for each page to map out visual flow, panel placement, and pivotal narrative moments, both emotional and visual. No details allowed. You need to make difficult decisions at this stage, and the more drawing you do, the more attached you get. “Murdering your darlings” is much easier early in the process than late. Good stories require tough choices.
Why it's essential: Thumbnails give you a sense of composition early on, helping you spot problems with panel layout, pacing, and flow before you invest too much time in detailed art. In comics, you have Panel Composition and Page Composition. They BOTH have to work, and thumbnails help.

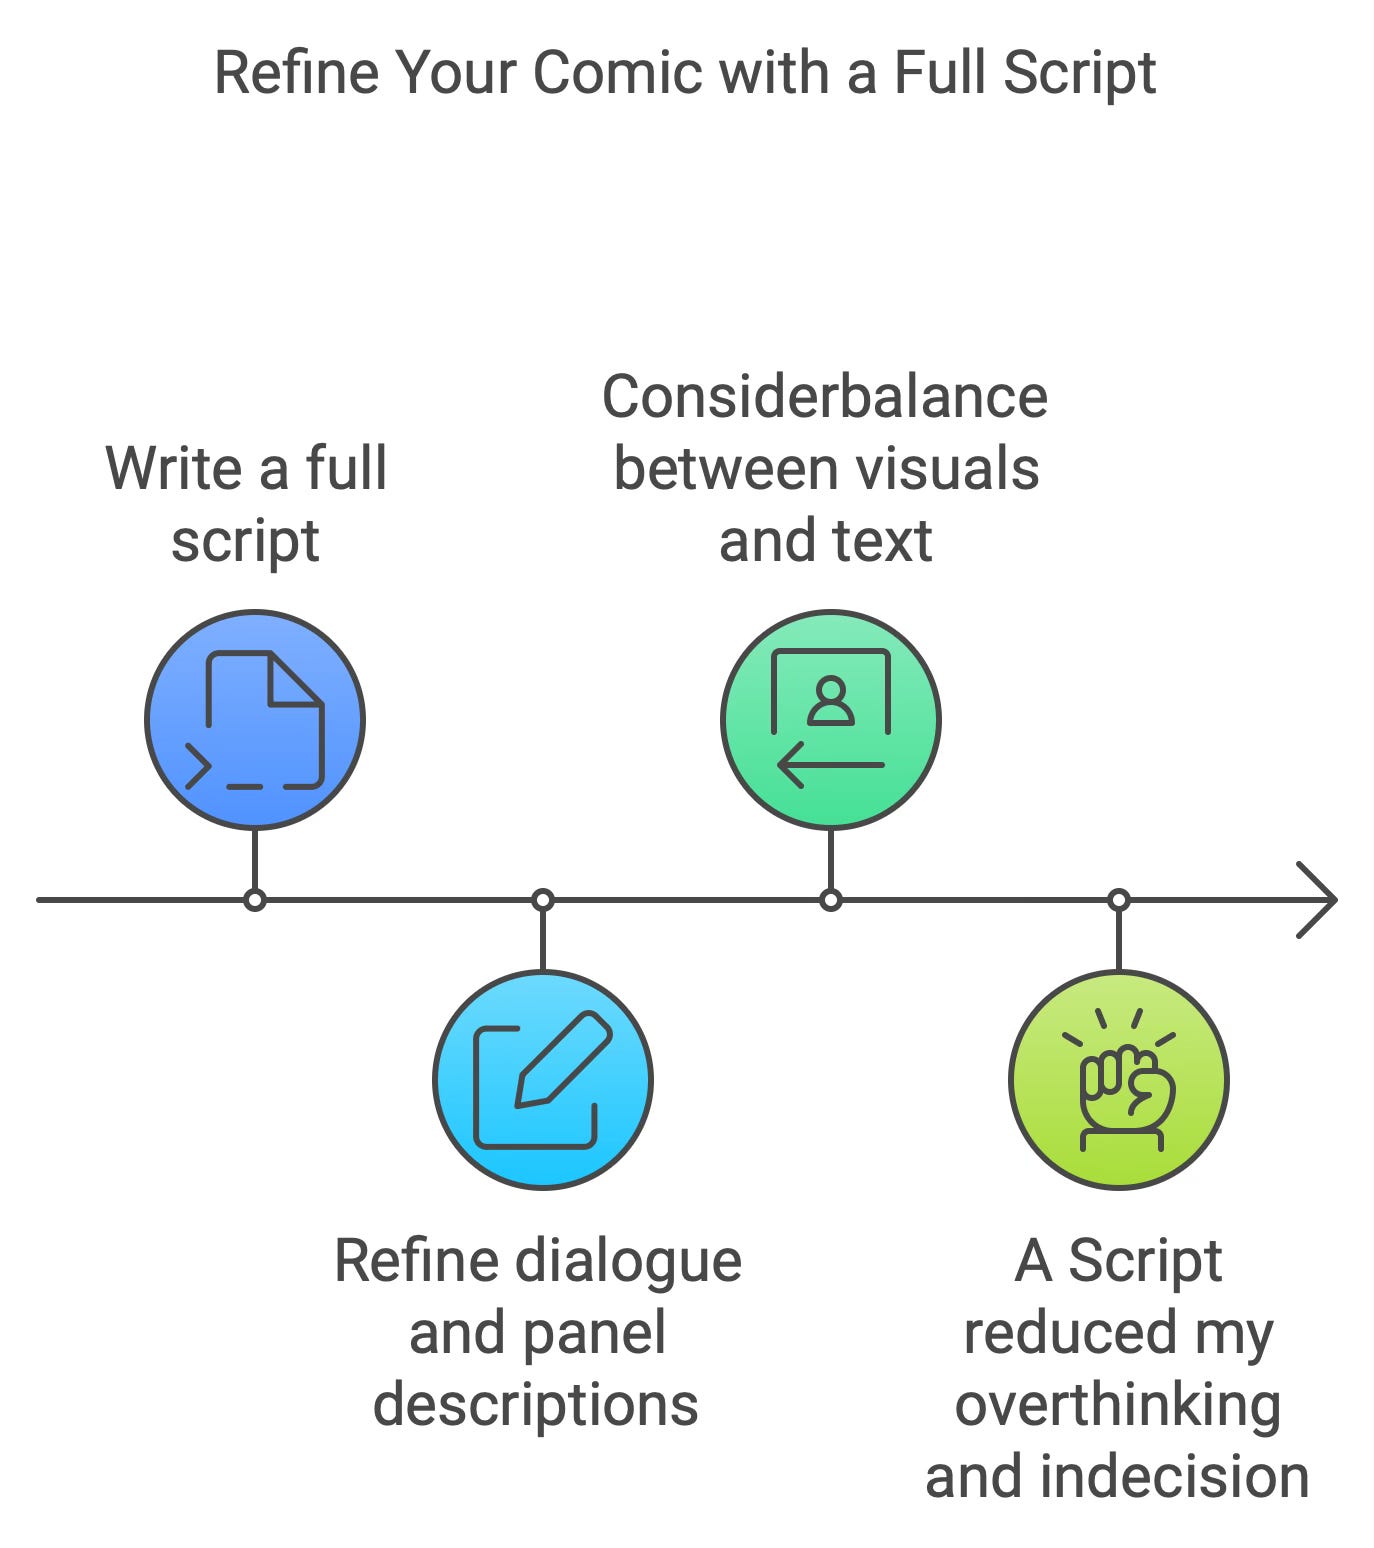
6. Writing the Full Script
What it is: For each page, describe the action, dialogue, and critical visuals in every panel. A Full script is not required, but it helped me when I started my comics. The more script I had in front of me, the less analysis|paralysis (aka indecision) I got trapped in. Overthinking is like quicksand; the more I thrashed, the faster I sank.
Why it's essential: The full script lets you refine dialogue and ensure each panel has the necessary action, emotion, and information to move the Story forward. This is where the balance between visuals and text happens.
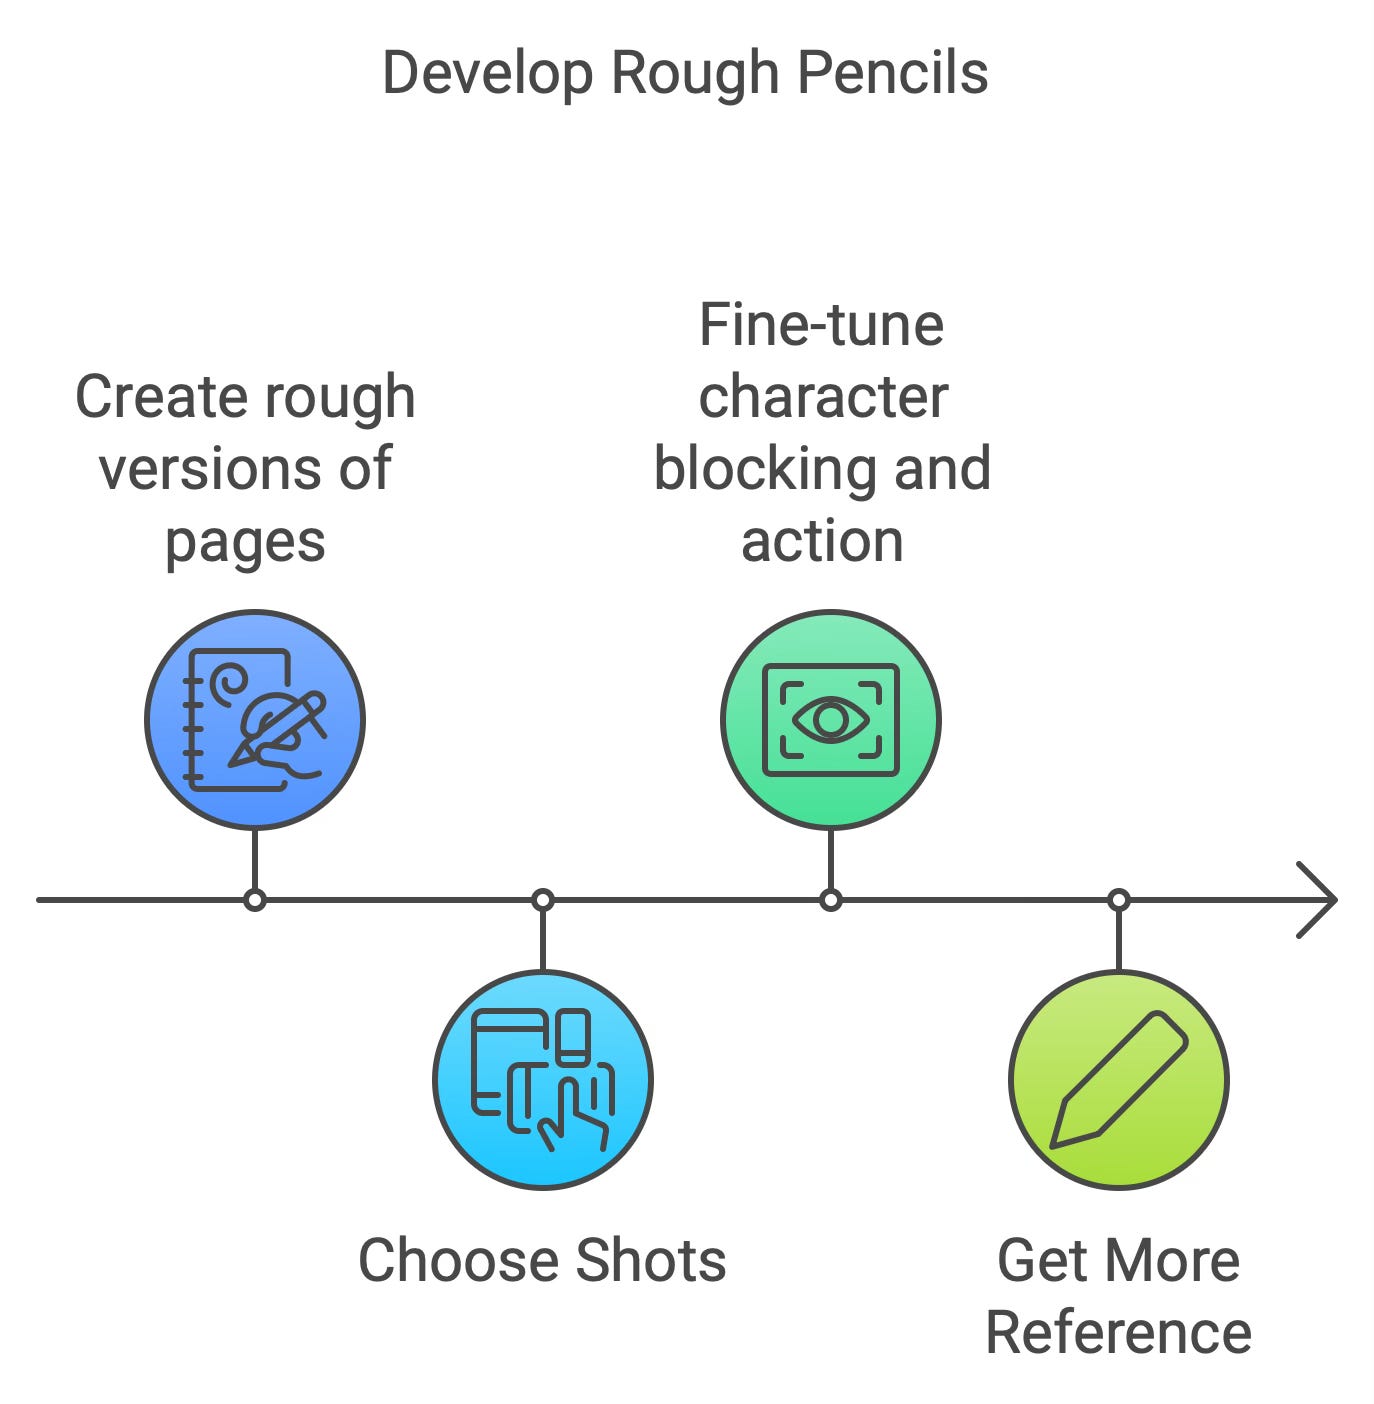
7. Rough Layouts (Roughs)
What it is: Create larger rough versions of the pages, focusing on the layout, composition, and overall storytelling. Roughs have more information than Thumbnails, but please, no eyelashes yet!
Why it's essential: This step allows you to fine-tune the placement of characters and action, ensuring that each page is clear for the reader. Clarity and focus here. Details come next.
8. Final Pencils
What it is: Redraw the rough layouts in more detail on your final comic paper, refining the artwork. Backgrounds and nuance finally show up.
Why it's essential: Final pencils are where you add depth and detail. This phase builds on all your planning to bring the Story to life visually.

9. Inking
What it is: Ink over your pencil drawings to make the artwork clean, bold, and ready for reproduction. Brush, tech pen, and croquill (pen nibs) all work. Use one or all; it’s your comic.
Why it's essential: Inking provides clarity and contrast, giving your comic a professional, polished look. It's also where you can emphasize light, shadow, and texture. You use hatching and stippling to simulate grayscale. If you stick to black and white, your lines will be sharper, and your coloring in step 11 will be easier.

10. Word Balloons and Lettering
What it is: Draw and place word balloons for dialogue and captions, then add the text inside. You can do this by hand or digitally. (If digital, this flips with “scanning your pages.”)
Why it's essential: Lettering is crucial to the flow of your comic. Poor placement or confusing balloon layouts can disrupt the reading experience, so getting this right helps with readability and pacing.

11. Coloring (Optional)
What it is: Add color to your comic digitally or by hand, depending on your style.
Why it's essential: Colors can enhance the mood and emotion of your Story, guiding the reader's eye and creating atmosphere. Choosing the right colors adds a new dimension to your storytelling.
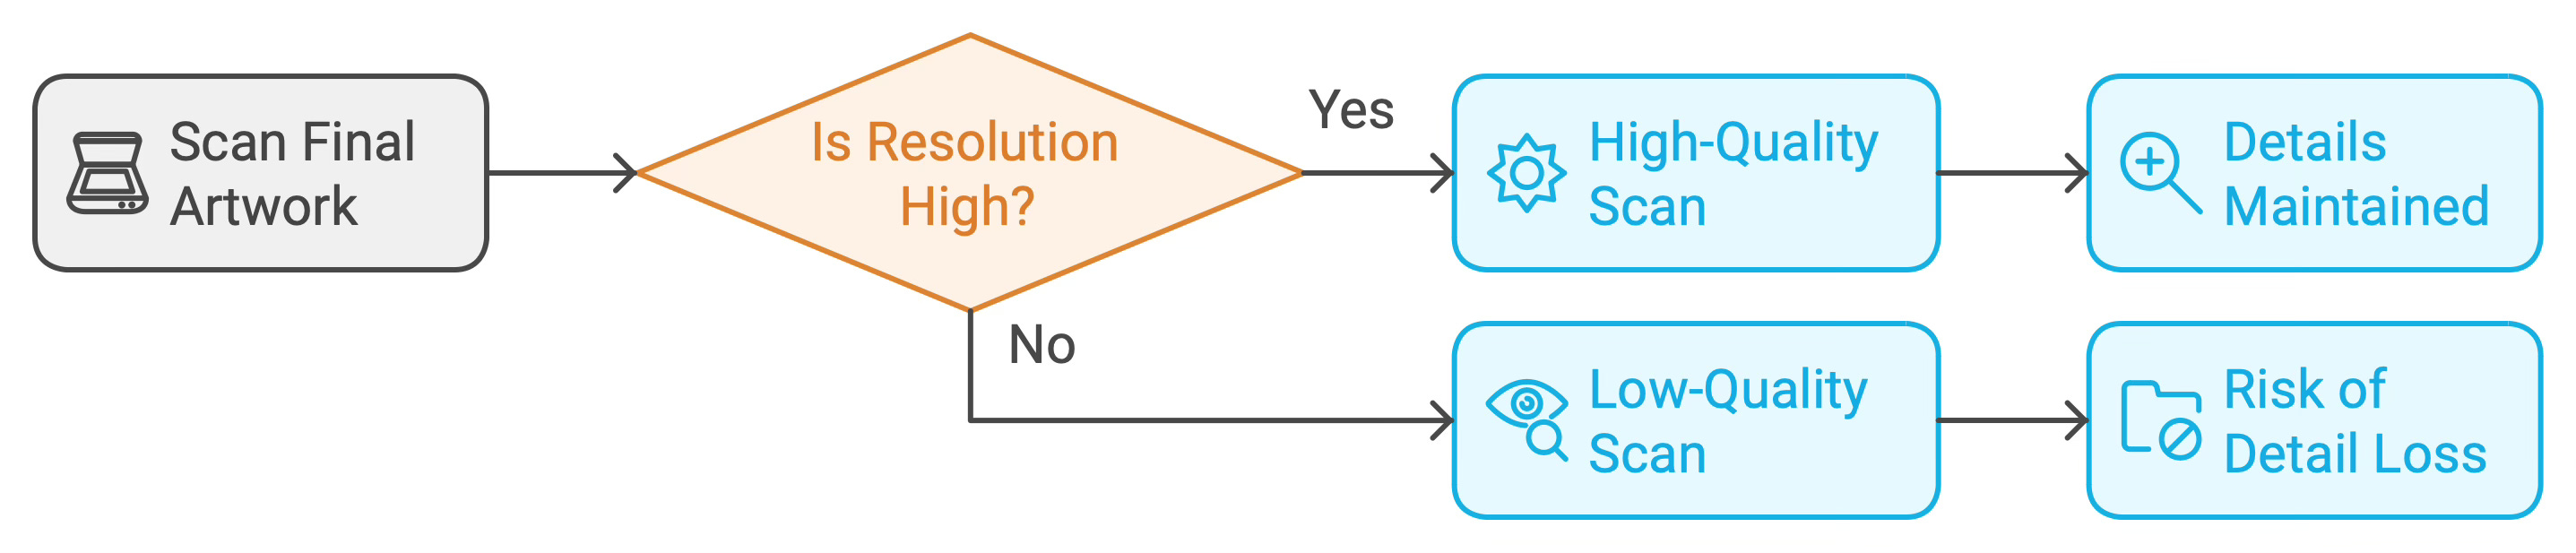
12. Scan Your Pages
What it is: Scan the final artwork at high resolution (300-600 dpi) to prepare for digital or print use. If you’re ONLY doing digital 72dpi works. (Personally, I suggest scanning at high resolution. It’s easy to reduce resolution and difficult to increase it.)
Why it's essential: High-quality scans ensure that the details and integrity of your art are maintained. This is the step that makes sure your work looks crisp and clean when reproduced.
13. Prepare for Print
What it is: Get your files ready for printing, following the printer's specific guidelines for resolution, bleed, file format, and color space (CMYK for print)(RGB for onscreen).
Why it's essential: Printing can make or break your comic. Ensuring your files are formatted correctly prevents costly mistakes and helps your comic look professional.

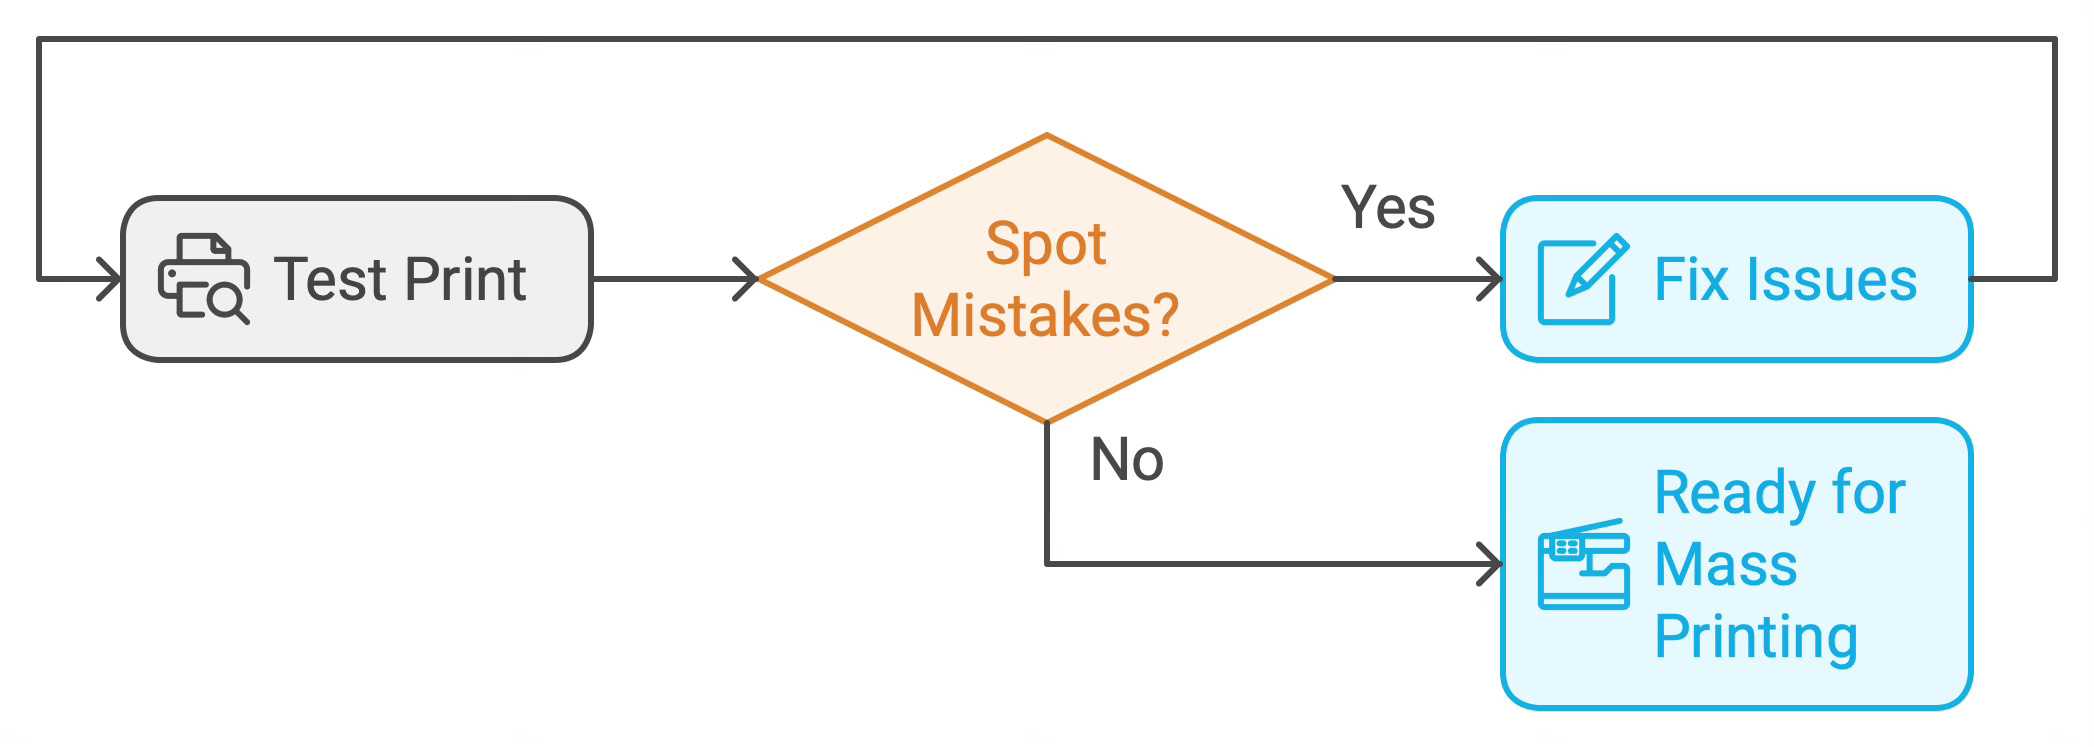
14. Test Print
What it is: Before sending the comic to the printer, run a test print on your home printer to see how it looks in physical form.
Why it's important: A test print gives you one last chance to spot mistakes and fix any issues before mass printing. This step saves time, money, and headaches down the road.
15. Submit to Large-Volume Printing provider
(For medium to high quantities, or if you don’t have a home printer.)
What it is: Send your files to the printing company, respond to feedback, and finalize the printing process.
Why it's important: This is the final stretch. Keeping an open dialogue with the printer ensures that your vision translates well to the final printed comic.

16. Final Product
What it is: Receive your printed comics. Now your comics are ready to distribute. Congratulations, you've made a comic. You've created something unique, and the world is a brighter place. I'm proud of you.
Why it's important: This is the culmination of all your hard work, and it's where you can hold your finished comic in your hands, ready to sell, promote, or share with the world.
Each step enhances your comic and brings it closer to your creative vision. As Syd Mead advises, don't look for shortcuts, rush through, or view each step as a burden. Instead, see each as an opportunity to refine, improve, and fully explore your ideas at each stage. Embrace the process, and your comic will be better and evolve into something beyond what you initially imagined.
If you’ve wondered what each step is in making comics or why each matters, I hope this helped. Want more? Refer to the references below.
Charles Merritt Houghton
23 September 2024

Expert Resources
I love them. You might, too.
1. Story Idea and Synopsis
Resource: "The Anatomy of Story" by John Truby A highly practical guide that focuses on character-driven storytelling and offers a clear structure to help ensure your story has enough depth and direction.
2. Beat Sheet
Resource: "Save the Cat! Writes a Novel" by Blake Snyder (this is excellent for creating a beat sheet, outlining the major emotional and plot moments of your story).
3. Decide on the Length
Resource: "Understanding Comics" by Scott McCloud (offers insight into the structure and pacing of comic books, and how to control storytelling over a set number of pages).
Resource: "Writing for Comics" by Alan Moore
(Alan Moore’s guide provides deep insights into planning the length and structure of a comic, specifically focusing on maximizing each page.)
4. Page-by-Page Outline
Resource: "Panel Discussions: Design in Sequential Art Storytelling" by Durwin Talon (a great resource for organizing and laying out the major moments across your comic pages).
5. Thumbnails
Resource: "Making Comics" by Scott McCloud (this book is a masterclass on everything from composition to visual storytelling, including thumbnailing and layout).
6. Writing the Full Script
Resource: "The DC Comics Guide to Writing Comics" by Dennis O'Neil (covers the full script process with examples of how to write for comics in a structured, clear way).
7. Rough Layouts
Resource: "Comics and Sequential Art" by Will Eisner (offers a fantastic insight into creating rough layouts and the overall flow of comic storytelling).
8. Final Pencils
Resource: "How to Draw Comics the Marvel Way" by Stan Lee and John Buscema (a classic, step-by-step guide to drawing detailed comics, focusing on final penciling techniques).
9. Inking
(see Step 10 if you’re going to draw balloons and hand letter your pages simultaneously.)
Resource: "The DC Comics Guide to Inking Comics" by Klaus Janson (covers a wide range of inking techniques, from basic to advanced, and their impact on comic art).
10. Add Word Balloons and Lettering
(NOTE: this may be integrated into Step 9 Inking if you hand-draw balloons and lettering.)
Resource: "Comic Book Lettering the Comicraft Way" by Richard Starkings (an essential guide to the craft of lettering in comics, covering everything from balloon placement to font choices).
Resource: "The Essential Guide to Comic Book Lettering" by Nate Piekos
(A comprehensive guide that covers everything you need to know about comic book lettering, from placement to font choices.) I love Nate’s book; his website, Blambot.com, is a generous resource.
11. Coloring
Resource: "DC Comics Guide to Coloring and Lettering Comics" by Mark Chiarello and Todd Klein (explores the principles of coloring for comics, both traditional and digital).
12. Scan Your Pages
Resource: "The DC Comics Guide to Digitally Drawing Comics" by Freddie E. Williams II (focuses on preparing digital and traditional art for scanning and digital use).
13. Prepare for Print
Resource: "Ka-Blam Digital Printing Comic Book Printing Guide" (Ka-Blam’s own website offers a detailed guide to preparing your files for print).
Resource: Mixam Printing's Comic Printing Guide (an excellent online guide from Mixam on how to prepare and test print comics before final submission).
14. Test Print
Resource: Your printer’s manual. It could be Epson, HP, or Canon… I don’t know what kind of printer you have!
15. Submit to Printer
Resource: "Comix Well Spring Comic Printing Guide" (another detailed guide from a comic printing company that helps navigate submission, formatting, and production).
16. Final Product
Resource: "Selling Your Comic Book Online: A Beginner's Guide" by Tony C. Caputo (offers tips on marketing, distributing, and promoting your finished comic product).
General Creator Inspiration Books
"Steal Like an Artist" by Austin Kleon
A simple, inspiring book about finding creativity in everything around you, encouraging creators to borrow ideas and make them their own.
"Big Magic: Creative Living Beyond Fear" by Elizabeth Gilbert
This book tackles the emotional challenges of creativity, offering encouragement and practical advice on how to embrace creativity without fear.
"The War of Art" by Steven Pressfield
A powerful book that explores the inner battles creators face, especially resistance, and how to overcome it to stay productive and focused on creative projects.
"Show Your Work!" by Austin Kleon
Another great book by Kleon, focused on sharing your creative process with the world and building an audience for your work. It’s practical and motivating for artists who want to get their work out there.
"Creative Confidence" by Tom Kelley and David Kelley
Written by two founders of IDEO, this book encourages creators to tap into their innate creativity and shows how design thinking can inspire innovation in any field.