


Why Comic Artists Work Larger Than Print Size (And Why You Should Too)
If you’ve ever wondered why comic artists draw on 11” x 17” paper instead of the smaller size on the shelf, here’s the answer: It makes your artwork cleaner, sharper, and easier to read when reduced.

Why We Work Larger First
If you’ve ever wondered why comic artists draw on 11” x 17” paper instead of the final print size, here’s the answer: It makes your artwork cleaner, sharper, and easier to read when reduced. When you work larger, details stay crisp, and small mistakes become less noticeable, resulting in a more polished final product.
You Don’t Have to, But Here’s Why You Should
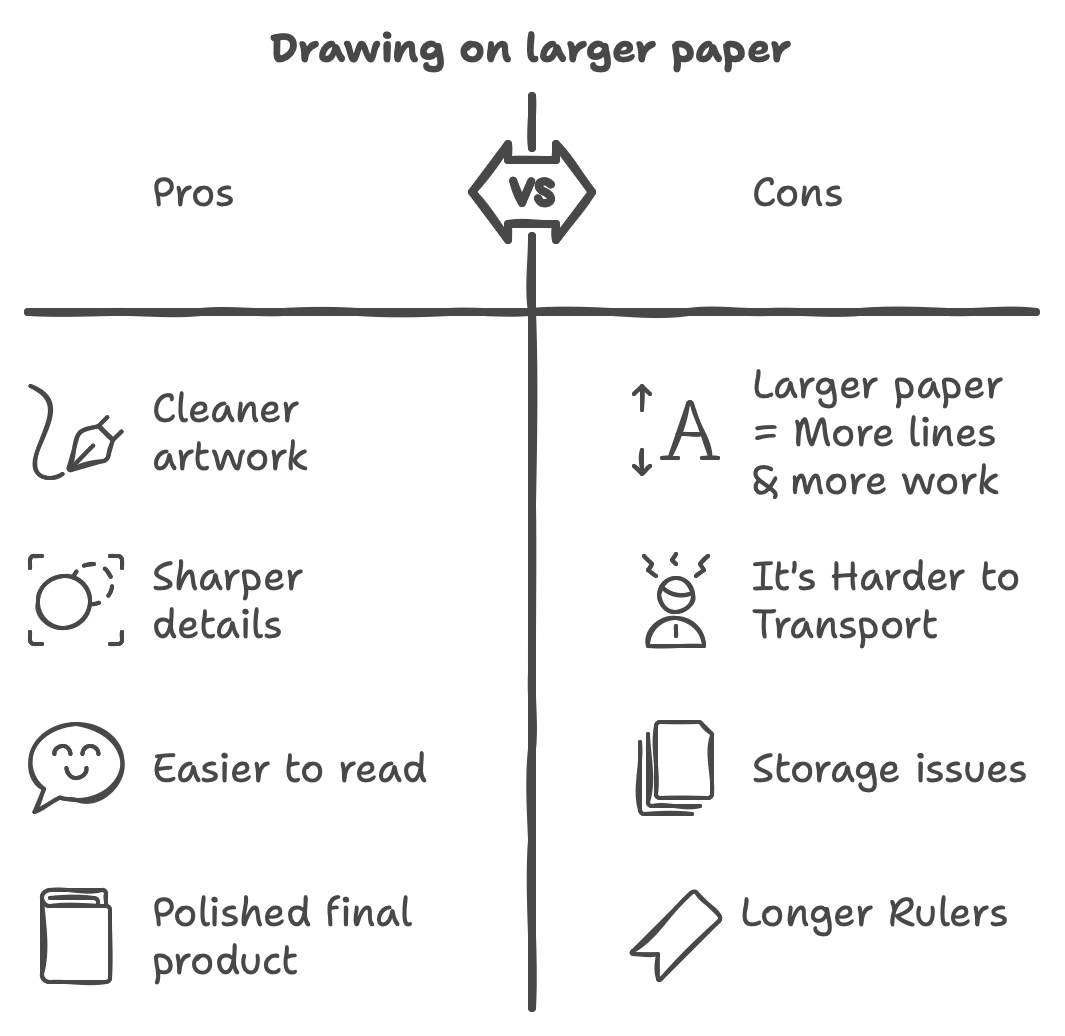
While you can draw at the final size, working larger comes with some serious benefits:
More Room for Detail: Drawing larger (typically within a 10” x 15” area on an 11” x 17” sheet) gives you space to add fine details that will still look great when scaled down.
Cleaner Lines: When your lines get reduced to print size, they appear sharper, and small wobbles are less noticeable.
Print Flexibility: A larger drawing area allows for adjustments, cropping, or reformatting without sacrificing quality.
Key Concepts: Bleed, Trim, and Live Area
When working on an 11” x 17” sheet, you’ll need to consider three key areas:
Bleed: This is the extra space around the 10” x 15” drawing area that gets trimmed off during printing. Always extend backgrounds and other elements into the bleed zone to avoid unwanted white borders.
Trim: The trim is the final print size of your comic page. In most Western comics, this means the actual 10” x 15” area gets cut down slightly to fit the standard comic format. Keep anything significant away from the trim lines to avoid getting it chopped off.
Live Area: This is the safe zone inside the trim, where all your crucial content (characters, dialogue, action) should stay. Anything outside this area might get too close to the edge or cut off during trimming.
Thumbnail and Roughs: Keep Them in Proportion
Before you start on the final page, your thumbnails and roughs should be in proportion to your working size. This keeps your layout consistent as you move to larger paper.
Thumbnail: A good size is 2” x 3”, maintaining the 2:3 proportion of your final drawing area.
Rough: To stay in proportion, try 4” x 6” or 5” x 7.5”. This gives you enough room to plan out the details before transferring to the full-size 11” x 17” paper.
Actionable Tips for Drawing Larger
Work on 11” x 17” Paper: Use the 10” x 15” drawing area as your workspace. This standard for Western comics provides enough room for details that will look sharp when reduced.
Use Guidelines: Before starting, mark your paper with lines for bleed, trim, and live areas. This keeps your artwork within safe boundaries for print.
Shrink to Check: Once finished, shrink your art down to final print size to check readability and detail. This step ensures everything looks right before printing.
Bottom Line: Working larger on 11” x 17” paper gives you more control, sharper lines, and flexibility for print. Using thumbnails and roughs in proportion to your final size helps you plan your page effectively. Following these practices will make your comics look polished and professional.
I’m not sure I’d personally go larger since my scanner won’t accommodate it, but Will Eisner’s Spirit was drawn huge compared to modern pages. Looked damn good then, looks damn good today.
Working big isn’t a requirement, but it can be a secret weapon. Art looks good when you work big and scale it down. As the kids say, it looks “crispy.”
Charles Merritt Houghton
12 October 2024